Server Installation:
Attention: unless you want to run your own SQL Server, skip this part and go to Client Installation directly (see below).
- Go to Control Panel, and open advanced firewall settings, and add an IN rule to allow external connections to a port such as 1433 that your database server will be listening on.
- Go to Microsoft Azure at https://azureforeducation.microsoft.com/devtools to download SQL Server 2019 Standard version
- Double click on the download file to open it and double click on Setup file to install.
- In the "Planning" table, make sure you click "System Configuration Checker" to see if your system is ready for installation
- Go to the "Installation" tab, click on "New SQL Server stand-alone..." link to start
- Follow the wizard and make sure you specify a database instance name and create a password for the system administrator "sa" account.
- After finishing the wizard, open SQL Server Configuration Manager.
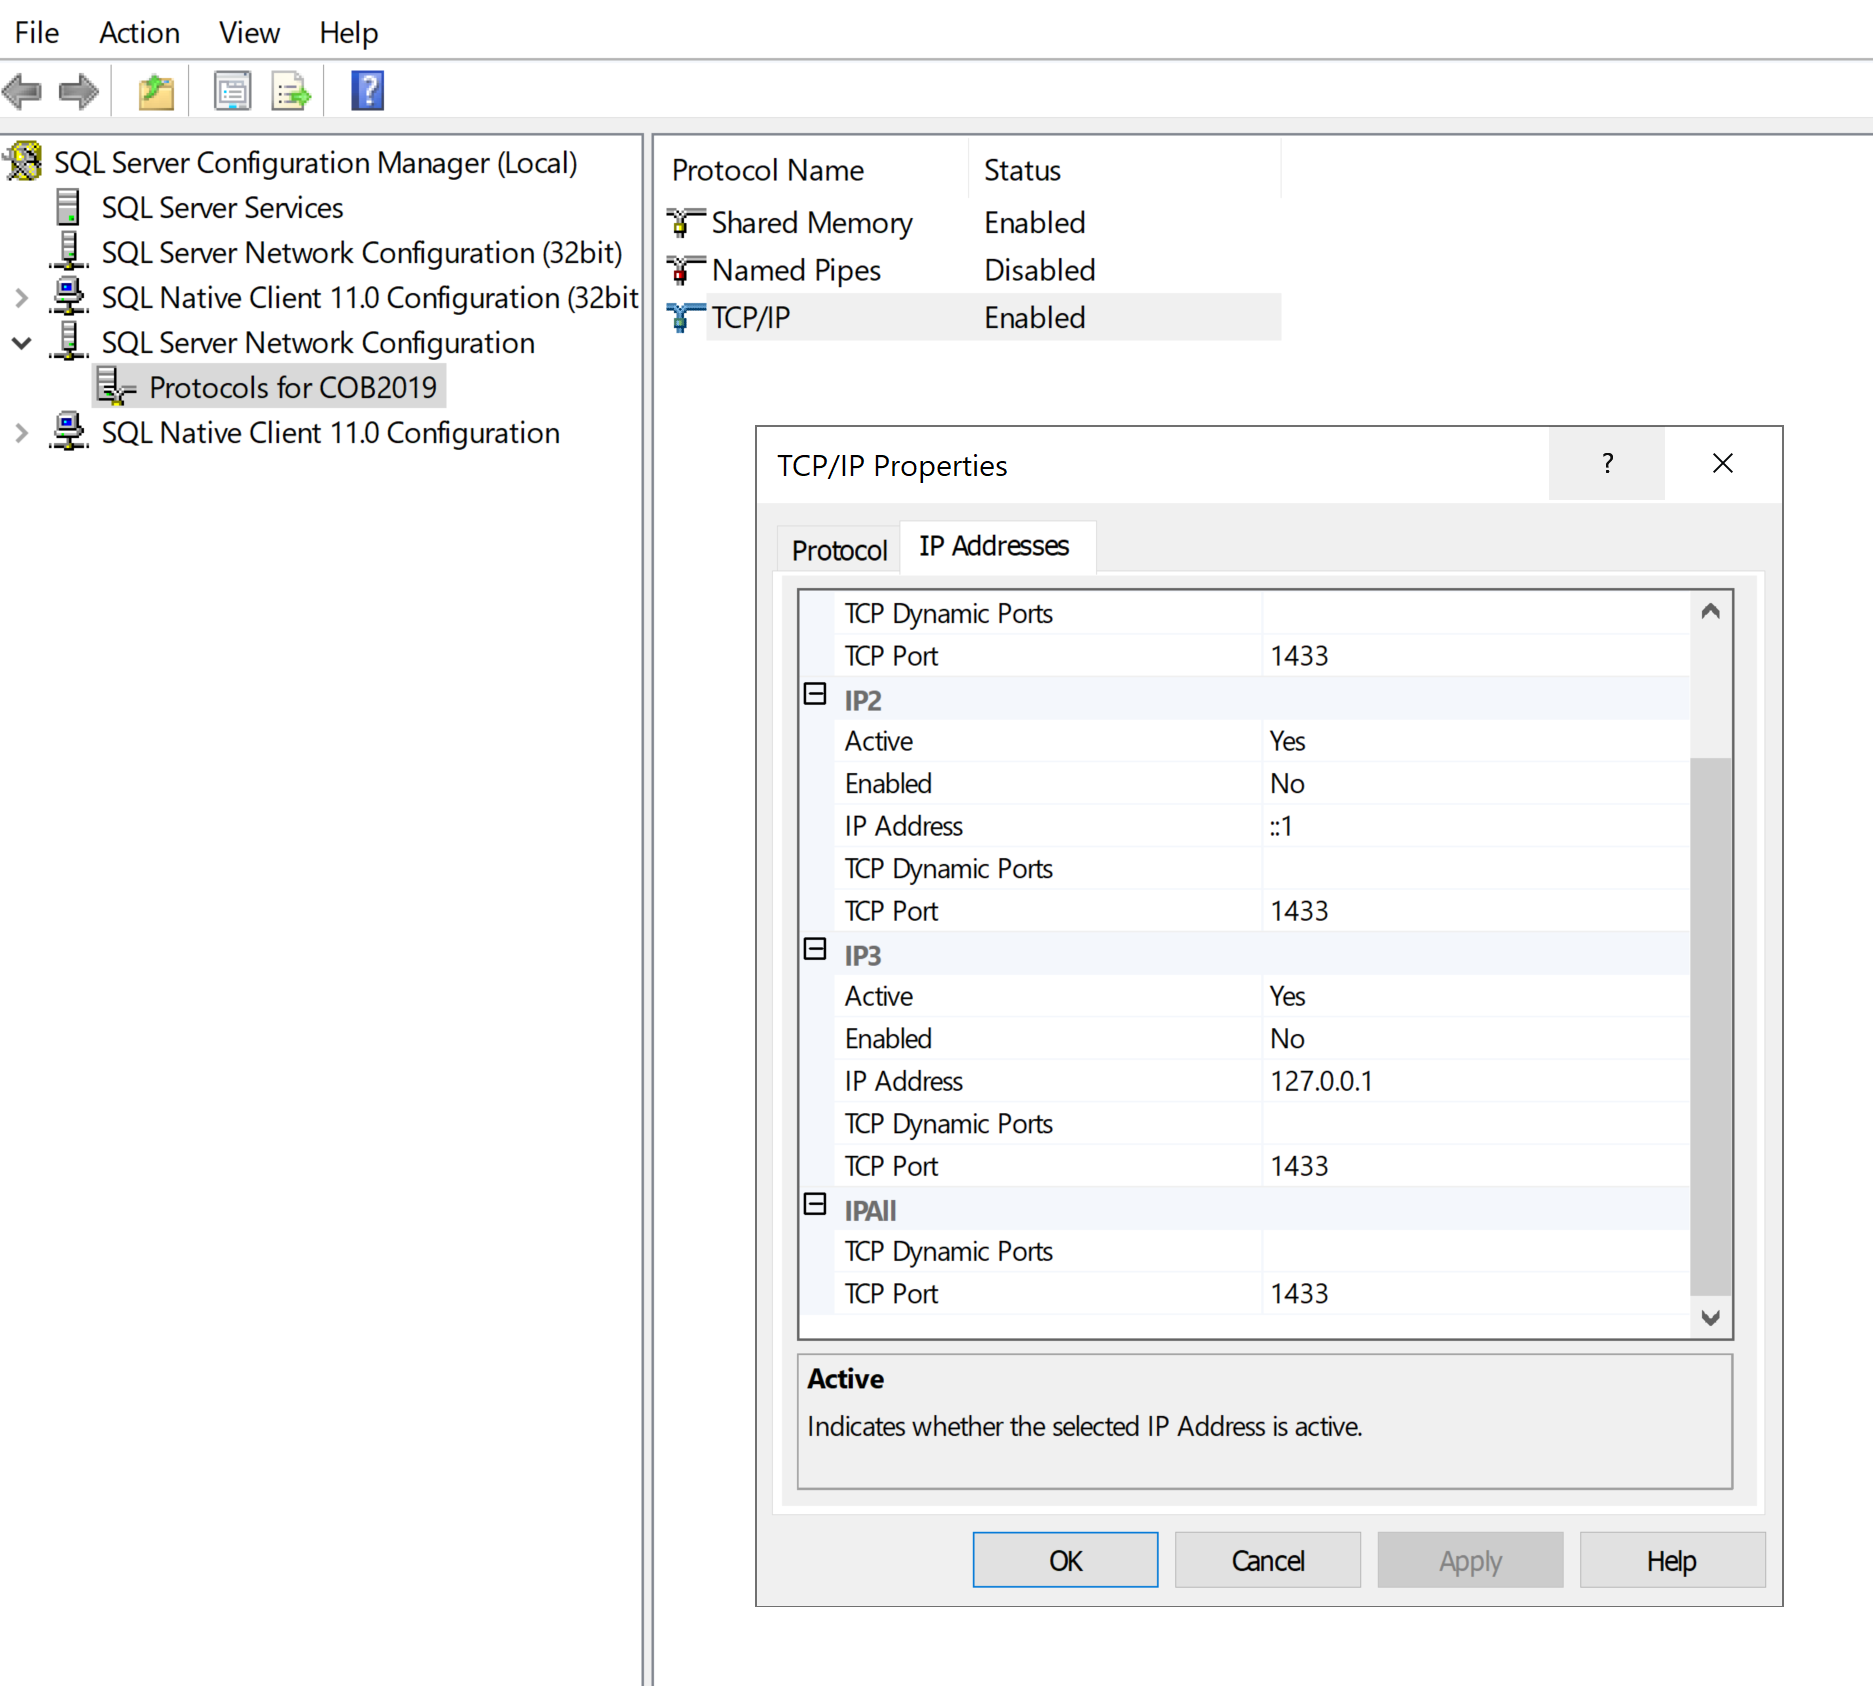
- Open Network Configuration to check if TCP/IP is enabled for your database instance.
- Right click on TCP/IP and open its properties, go to IP Address tab to set the port such as 1433 as the port that your database engine listens to external connection request.
- Restart your server or SQL Server service
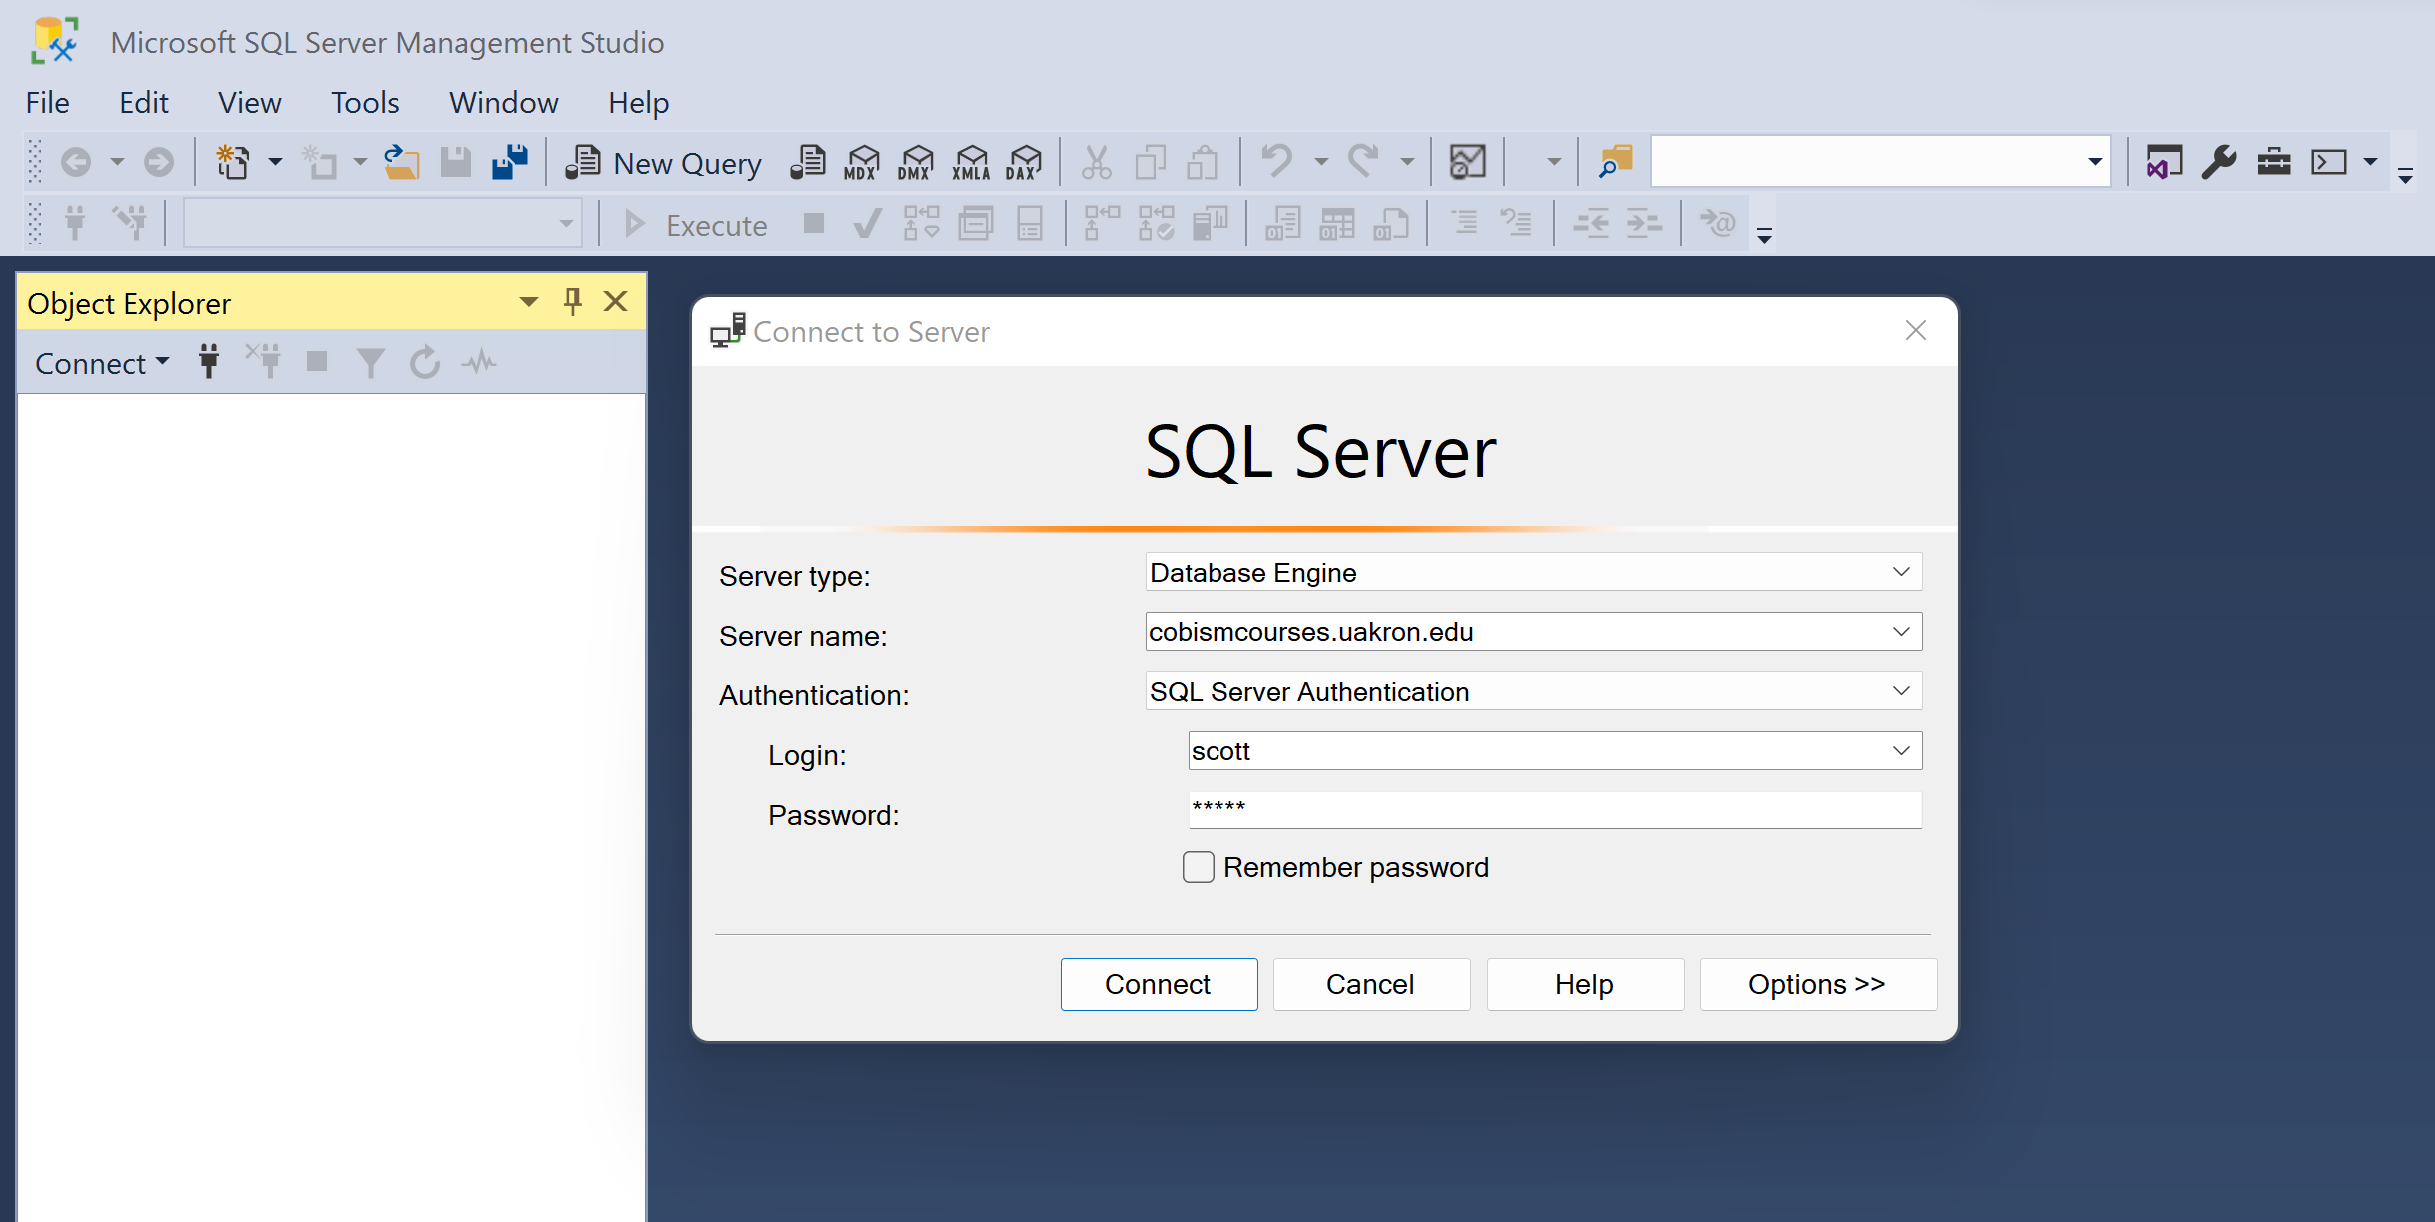
Client Installation:
|